
Rosetown Station By Lionel Gazeau
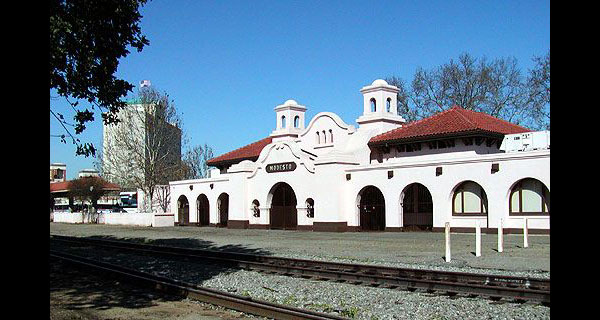
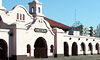
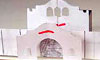
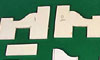
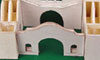
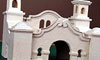
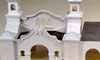
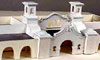
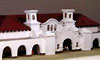
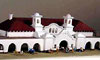
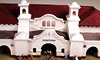
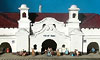
I have been working on the railroad in addition to the little houses. The station is going to be roughly 23 x 8 cm including sidewalks and platform. I've been unsuccesful in getting other pictures of the Modesto station so I'm just going to fake the sides. The 25 pieces you see all go into making the four towers, it doesn't include the "bell towers", some roofs and a few other details I have to make after they are assembled. Then it's the main entrance in between with the middlearch and windows. The next step in the construction to see what the entrance will look like, not glued yet, lots of details to add before that happens but it gives me an idea of what to do next. I haven't found a suitable hat for the back towers and there are a couple of things to do yet but this will give you a good idea of where we are. Basically it's a station based on the one at Modesto; as I work on it I find new details I should have done differently or that I didn't see at all until it's too late to add them. I think the overall look is pretty nice.
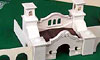
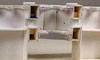
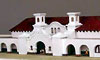
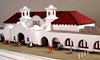
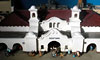
The next picts will show you where I'm at now. I had to cut 20+ arches! The roof is the next challenge. Well I admit it looks real good so far, the roof is just painted to give me an idea of what it'll look like with red shingles. Next come details, not to mention windows and doors. I worked on the seats you sent me earlier so I can now continue working on it ( I have to mount the seats and some people on the base before I attach the station), they'll also be used under the covered platform addition. I'll keep the rest and use them on your other buildings. Took me a while to figure out how to do the cornice details on the station, then afterwards I realized I needed about twice as many, good thing I have a good painting crew :-)
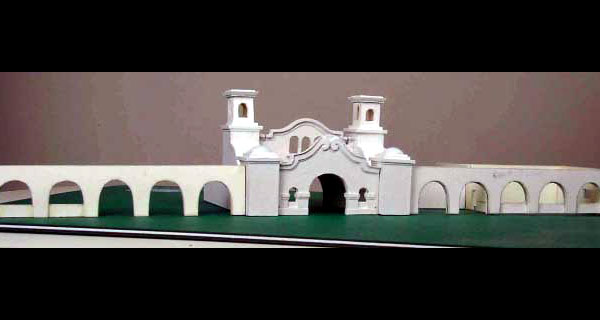
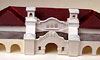
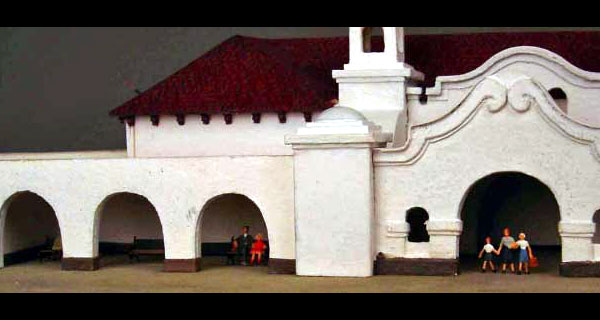
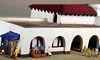
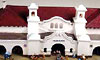
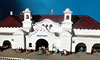
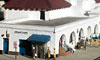
Hello Jürg I finally found the correct balls for the back columns, each take about five coats of paint and I still need to do a couple more. I also have to add a few signs (telephone, sp, up,atsf, no parking, etc.) a loaded baggage cart., then some light weathering , touching up and it's done. There are two micro lights under the left columns, one each under the main entrance and the right columns. I first tried to wire them in series but one of them always seemed to steal the current from the others so they are wired in parrallel instead. Don't use more that a volt or so or you'll burn them out. They cannot be replaced. Similarly there are two bulbs in the enclosed ares (one on each side) but they have a higher voltage. Same, they can't be replaced although you could drill a hole in the base and insert a bulb through that. The windows are covered so you can't see inside. Twice I broke the front two of the four white poles sticking up on the right side of the platform (they're in the original) so I have left them unglued and will include them when I ship. I suggest you also leave them unglued. same for the street signs I'm going to do. I glued the passengers in groups to make it interesting and not have them look like an army on the march. Like the two occupied phone booths with a line of people, there are little stories here and there. Note the shoe-shine you requested. I used a lot of the people you sent me, the rest will go on the covered platform addition which will go on the right. I'm going to hang on to it for a while longer to take better pictures and see what else I need to do. It looks like I will ship in the middle of next month, I want to do it before the Christmas rush and I know you want to see it "in person". It's been quite a project. A Masterpiece it is. Thank you for the opportunity to make this model, I swear I'll never ever make another !! :>) Be good, Lionel |


 |
© 2009 - 2010, Jürg Rüedi. All rights reserved